The Ultimate Guide to Bedding in Your Brake Pads – RideARK Brake Pads
Share
The Ultimate Guide to Bedding in Your Brake Pads – RideARK Brake Pads
Introduction:
When it comes to cycling—whether you're shredding down a mountain trail, cruising on a gravel track, or speeding on the road—braking performance is non-negotiable. Properly bedding in your brake pads is one of the most critical steps to ensure optimal braking power, reduced noise, and increased pad lifespan. In this guide, we'll break down the bedding-in process step-by-step, using RideARK brake pads for Shimano, SRAM, Hope, TRP, Formula, and Hayes disc brake systems.
Why Bedding in Brake Pads is Essential
Bedding in your brake pads involves repeatedly applying the brakes in a controlled manner to create an even layer of pad material on the brake rotor surface. This process:
✅ Enhances Braking Power: Ensures maximum stopping efficiency.
✅ Reduces Brake Noise: Minimises annoying squealing and vibration.
✅ Prevents Brake Fade: Maintains braking power during long descents.
✅ Extends Brake Pad Life: Reduces uneven wear and tear.
Without proper bedding, your brake pads may wear unevenly, and you might experience reduced performance or persistent noise.
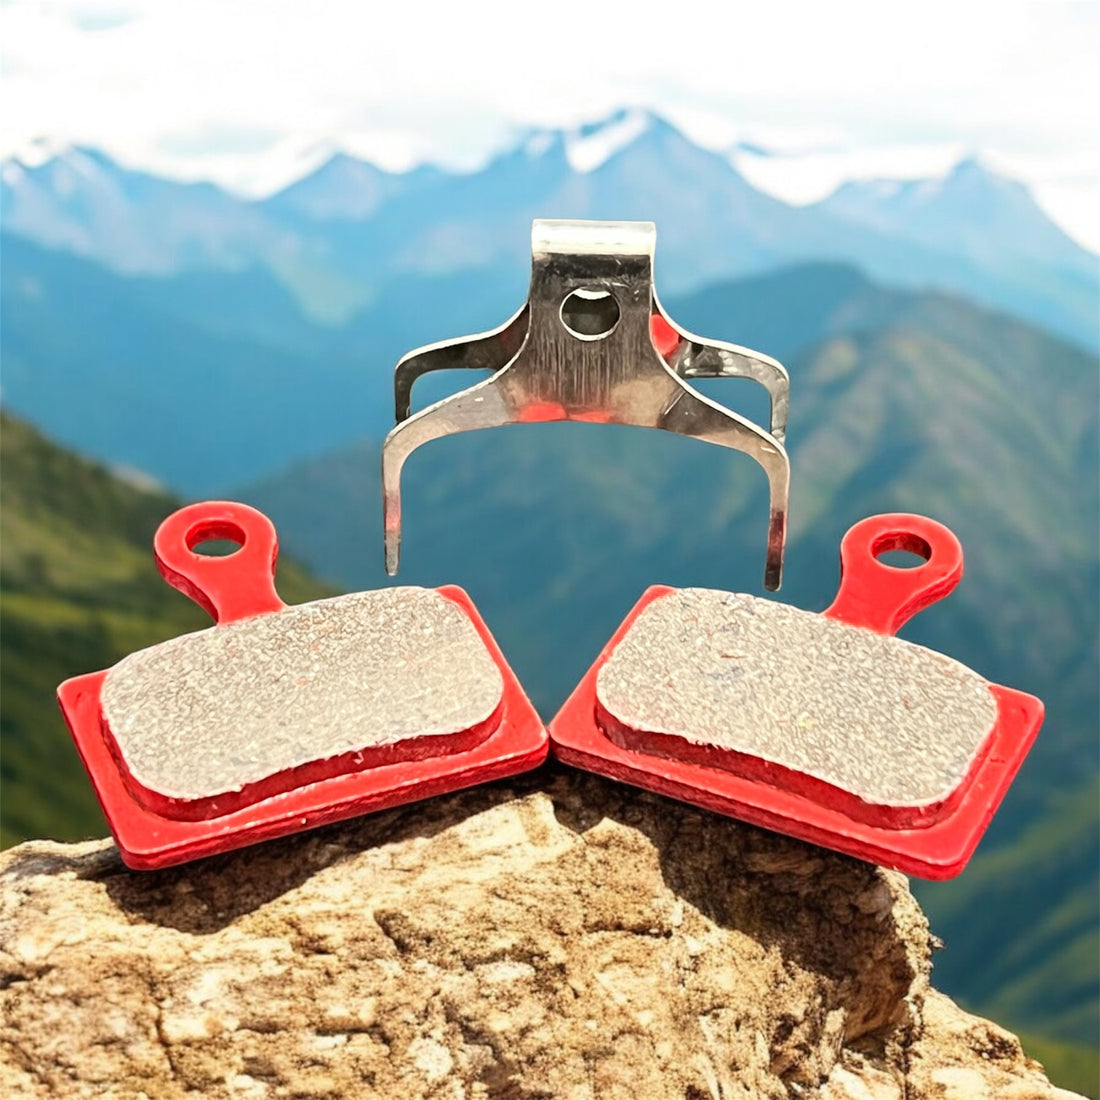
Choosing the Right RideARK Brake Pads
At RideARK, we offer a range of high-performance brake pads tailored for different riding styles and conditions:
- 🔴 Ceramic Compound: Smooth, consistent braking across varied conditions.
- ⚫ Organic Compound: Quiet braking with excellent initial bite.
- 🔵 Sintered Compound: Long-lasting, durable pads ideal for wet and muddy conditions.
- ⚪ ProTrail Resin: Reliable modulation and smooth braking for trail riders.
Step-by-Step Guide to Bedding in Your Brake Pads
📌 Tools You'll Need:
- Your bike with newly installed RideARK Brake Pads
- A safe area with room to ride and brake repeatedly
- Patience and consistency
Step 1: Find a Suitable Location
- Mountain Bikes: A moderate downhill trail.
- Road & Gravel Bikes: A flat or slightly sloped road with minimal traffic.
Ensure there’s enough space to safely reach moderate speeds and apply brakes without stopping fully.
Step 2: Accelerate and Brake
- Ride up to a moderate speed (10-15 mph / 16-24 km/h).
- Firmly apply the brakes to reduce speed by 50%, but do not come to a complete stop.
- Release the brakes and let them cool briefly.
Repeat this process 20–30 times.
Step 3: Build Heat Gradually
- During braking, you want to generate consistent heat in the pads and rotors.
- Avoid skidding or locking the brakes.
- Keep your braking smooth and controlled.
Step 4: Cool Down
- After completing the bedding process, allow the brakes to cool completely before your next ride.
- This curing period ensures the transfer layer adheres properly to the rotor surface.
Common Mistakes to Avoid
❌ Do Not Skid or Lock the Wheels: This can damage the pad surface.
❌ Do Not Stop Abruptly: The goal is to gradually reduce speed, not come to a full stop during each brake application.
❌ Do Not Skip the Cool-Down Period: Let the pads cool naturally after bedding in.
When Should You Bed in New Brake Pads?
- Every time you install new brake pads.
- After replacing rotors.
- If you notice reduced braking efficiency after long periods of non-use.
Why Choose RideARK Brake Pads?
At RideARK, we prioritise quality, safety, and reliability in every brake pad we produce. Whether you're a casual weekend rider or a downhill adrenaline junkie, our brake pads are:
✅ Engineered for Precision: Designed for consistent stopping power.
✅ Built to Last: Made from high-quality compounds for durability.
✅ Optimised for All Conditions: Reliable in wet, dry, and muddy environments.
Final Thoughts
Bedding in your RideARK brake pads isn't just about maximizing performance—it’s about ensuring safety on every ride. By following these simple steps, you'll enjoy quieter, smoother, and more reliable braking across all your cycling adventures.
Whether you're a trail conqueror, road warrior, or gravel grinder, trust RideARK brake pads for braking confidence.
Ride Strong – RideARK 🚴♂️🔩💪